 Internal wet brakes have been used for some time now on Kawasaki and Suzuki utility ATVs. These brakes are very effective in this application because they not only work effectively, but they are fully sealed to prevent contamination or damage from the harsh environments where they operate. Servicing these brakes is different than the more common disc or drum brakes. However, once you open them, they will look very familiar to traditional braking systems.
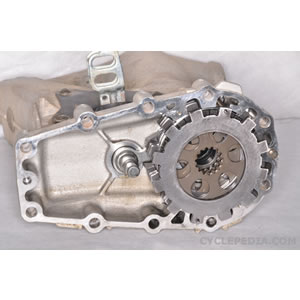
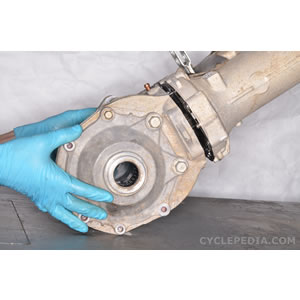
Photo 1: The internal wet brake is a clutch that can create friction to slow or stop the rotation of the rear ATV driveshaft. This type of brake is not common in powersports, but clutch brakes have been used for decades in larger scale applications. These brakes can often be found in tractors, heavy equipment and aircraft.
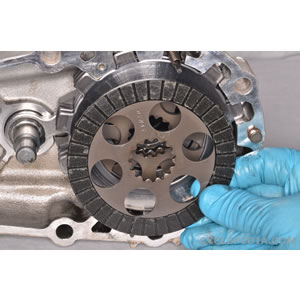
The brake clutch plates last extremely well compared with the pads or shoes used with conventional disc and drum brakes. As long-lasting as the clutch plates are, they still need to be replaced according to the manufacturer’s service schedule. Wet brake components may also need to be removed when servicing the final gear case, driveshaft or swingarm.
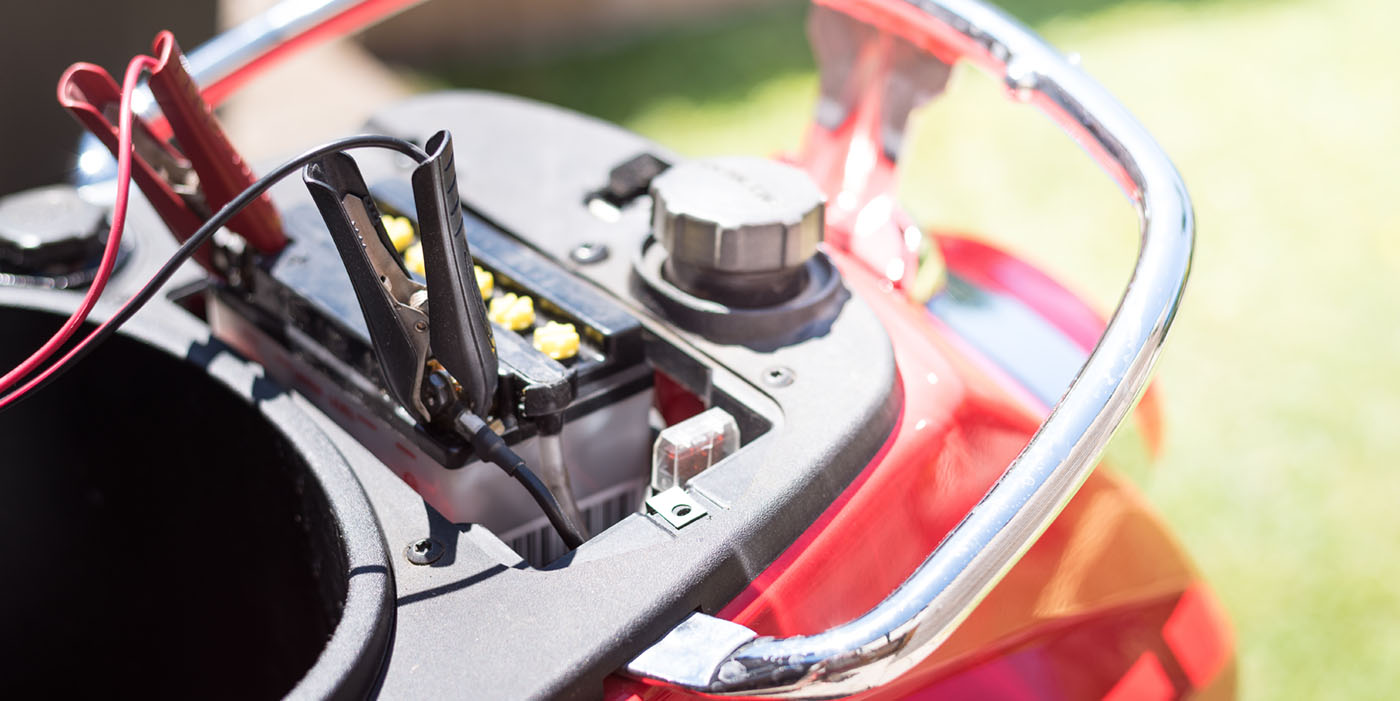
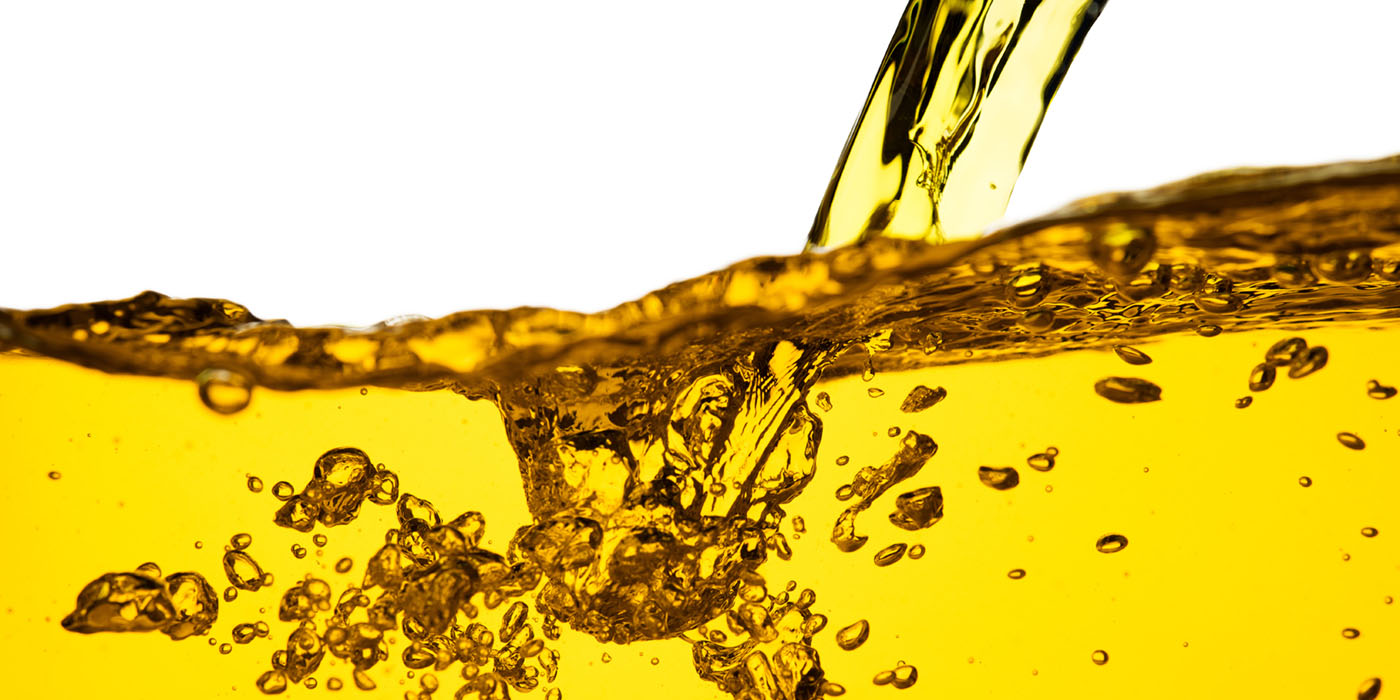
Before servicing the wet brake, make sure you have the correct replacement fluid and any associated gaskets. These special brakes need a special fluid. The Kawasaki Brute Force 650 shown has three acceptable fluid options: Mobil Fluid 424, Citgo Transgard Tractor Hydraulic Fluid or Exxon Hydraul 560. Do not attempt to substitute engine oil.
Photo 2: Drain the wet brake and final gear case fluid. Open the wet brake housing. On our KVF65, the wet brake can be accessed when the final gear case is removed from the swingarm.
Photo 3: Remove the clutch plates, springs and spring pins. Replace the clutch plates as scheduled or if the friction material is in poor condition.
Photo 4: Remove the cam plate and cam balls.
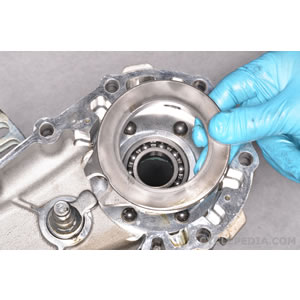
Photo 5: Inspect the brake camshaft and seal for damage and leaks. Check the driveshaft bearings. Replace these parts as needed.
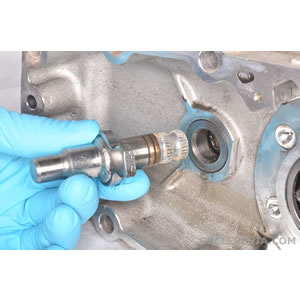
Lubricate the brake camshaft, cam plate and cam balls with the wet brake fluid. Install the brake cam components.
Install the clutch plates, springs and spring pins. Be sure to position the plates as shown in the service manual for the model being serviced.
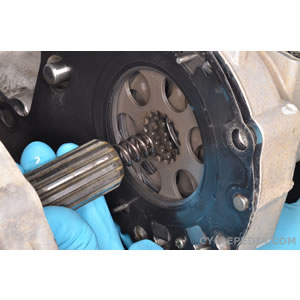
Photo 6: The internal splines of the clutch plates must be aligned in order to fit the shaft into the plates. On our Brute Force, we were able to rotate the pinion shaft by turning the rear axle as the final gear case was mated with the swingarm. As the pinon shaft turned, it lined up with the splines of each clutch plate.
Fill the final gear case with the appropriate fluid. Adjust the rear brake cable free play to specification.
Make sure the rear brake functions correctly before sending the machine on its way.
Brought to you by the people at WWW.CYCLEPEDIA.COM, Cyclepedia Press LLC painstakingly publishes online service manuals for many popular ATVs, motorcycles and scooters. Our full-color, online product is the first of its kind in the powersports industry. We provide our customers with service information now, not in 3-5 days shipping time. Our time and money saving, online manuals are a great compliment to an Authorized Factory Service Manual.