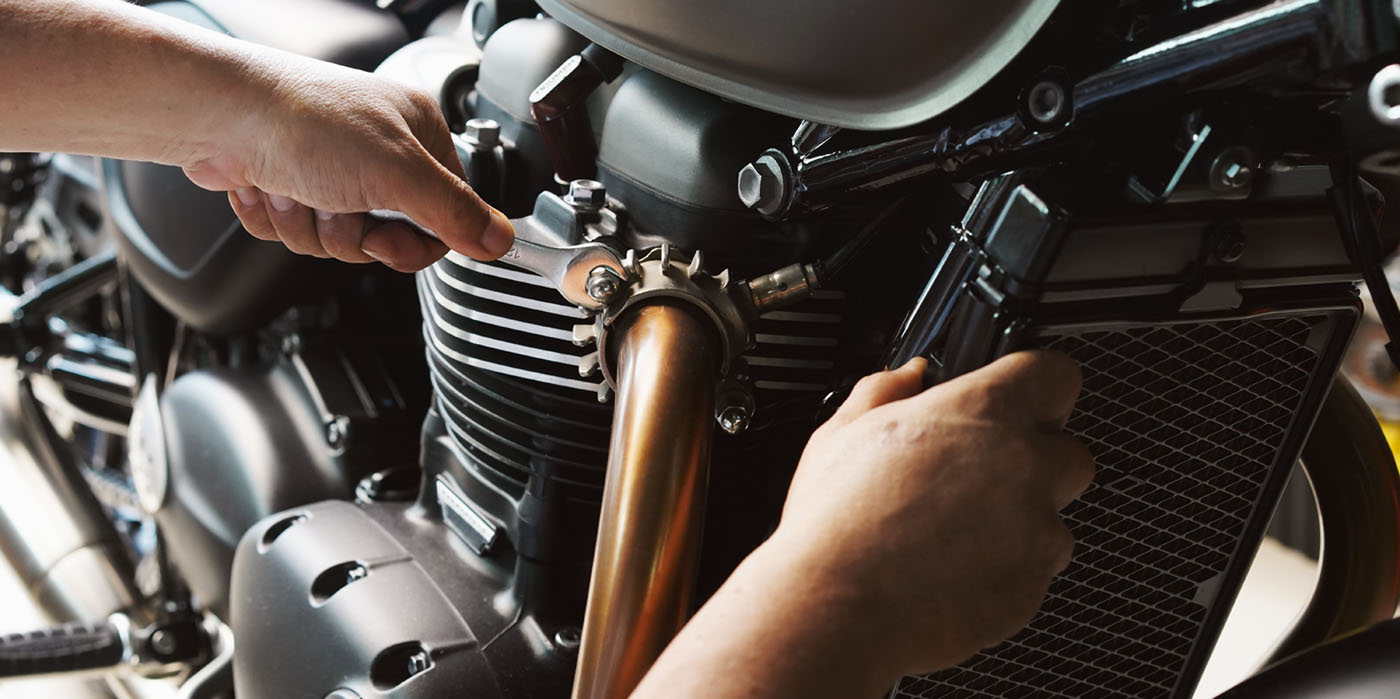
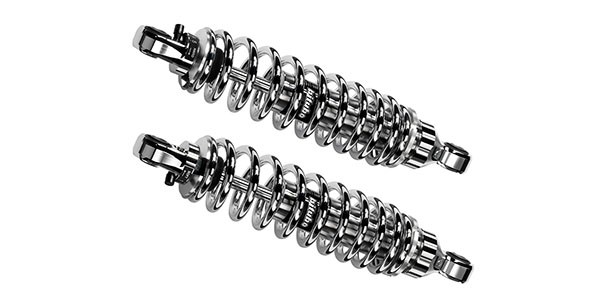
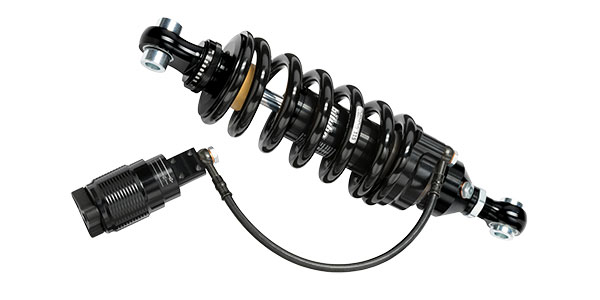
Most motorcycle technicians are far more familiar with servicing forks than shock absorbers. Shock absorbers are a bit mysterious with their pressurized nitrogen gas, and often minimum maintenance requirements. They should not be forgotten but inspected and serviced as the important components they are.
Before the shock absorber is removed from the vehicle, check the movement of the suspension. The shock absorber should move smoothly through its stroke. When released, the shock should return to its original position in a fluid manner without bouncing.
If the shock sticks, has rough movement or makes noises, there could be a problem with the shock absorber or linkage. Inspect the linkage and shock absorber mounting bushings, bearings, collars and pivot bolts for problems. The components may only need to be cleaned and lubricated but replace the components if they are in poor condition.
If the linkage and shock absorber mounts are in good shape, the shock absorber may be the problem. Check the shock for signs of damage and leaks. Inspect the rubber bumper for damage and deterioration. If adjustable, check the damping and preload settings. Be sure to record
the settings and check them against the factory-recommended specs.
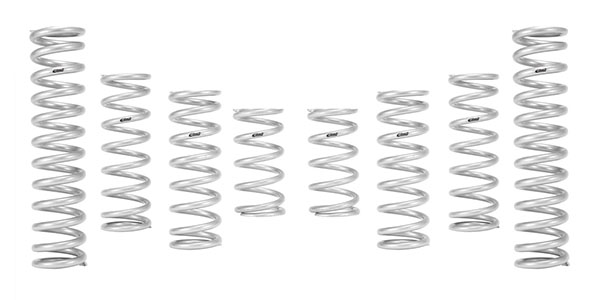
Not all shock absorbers are serviceable. Check with the service manual for the particular model to see to what degree the shock may be disassembled. Some are fully rebuildable and require regular oil changes. These shocks are usually found on high performance and premium vehicles. Basic sealed shock absorbers must be replaced as a unit if faulty.
If a shock absorber is to be disposed of, check if it is a pressurized gas type unit. The gas should be vented in a safe manner prior to disposing of the shock. On simple units, this may require drilling a hole into the shock absorber, according to specialized instructions in the service manual. Be sure to wear eye protection when venting the pressurized gas from a shock absorber.
Also, the nitrogen needs to be vented before servicing a pressurized damper. If the damper is adjustable, set the adjusters in their softest position before disassembling the unit. Remove the spring and drain the oil.
Removing a bladder often requires pushing the cap in and removing a stopper ring. If the shock can be disassembled further, this often requires removing the damper plate with two punches. Inspect the seals and valve components for signs of wear and damage.
To remove the components from the rod, the locknut usually needs to be freed with a file. Take care to avoid damaging the rod. Remove the components from the rod. If the valve shims come off separately be sure to keep them in order for installation.
Replace any seals or O-rings with new items. Fill the shock with the specified oil and reassemble the shock being sure to follow the specific instructions of the service manual. Compressed air can be used to aid in installing the bladder and checking for leaks, but this needs to be vented prior to the final pressurization with nitrogen gas.
If you do not have the resources to fill the nitrogen gas in your shop, check with local fire extinguisher or welding supply companies to locate someone with the proper equipment. Be sure to supply them with the pressure specification.
Return the shock absorber damping and preload settings to their original positions. If the original settings are unavailable, set the shock up to the factory standard settings, then return the shock absorber to the vehicle.