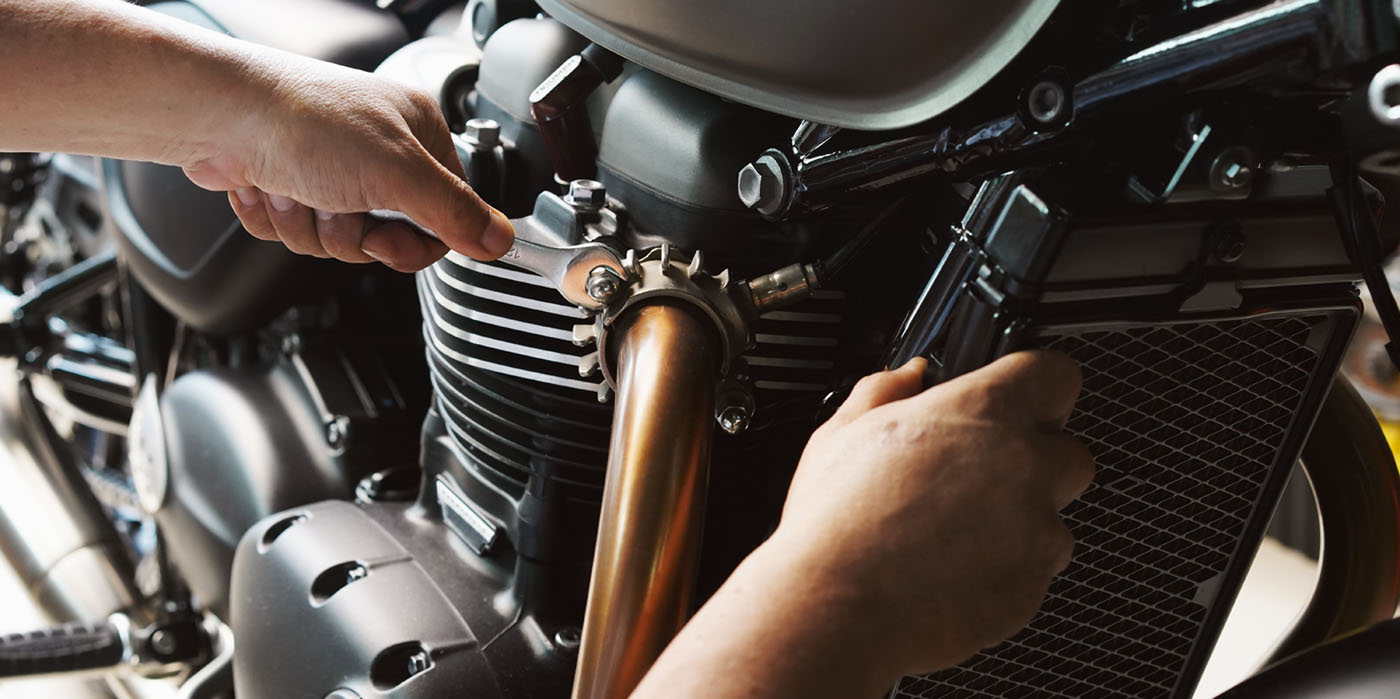
A four-stroke muffler will not get saturated with unburned oil as with a two-stoke, but the muffler material needs to be refreshed every so often all the same. With either engine type, when the exhaust noise increases and power seems to be lacking, the muffler probably needs some attention. This is often overlooked and can be offered as a service when the off-road machines come in.
Before beginning, make sure to have the new packing, rivets and rivet gun (if needed) on hand. When packing two-stroke mufflers, select a brand and move on. With four strokes, you can go aftermarket and save some money, but you’ll need a little more time and skill getting it right. When the machine has a stock exhaust, you can get the fancy preformed packing from the manufacturer, but be aware, this can be quite costly and will usually require more than one piece.
If it’s been awhile or you don’t normally do this, here’s the basic run down.
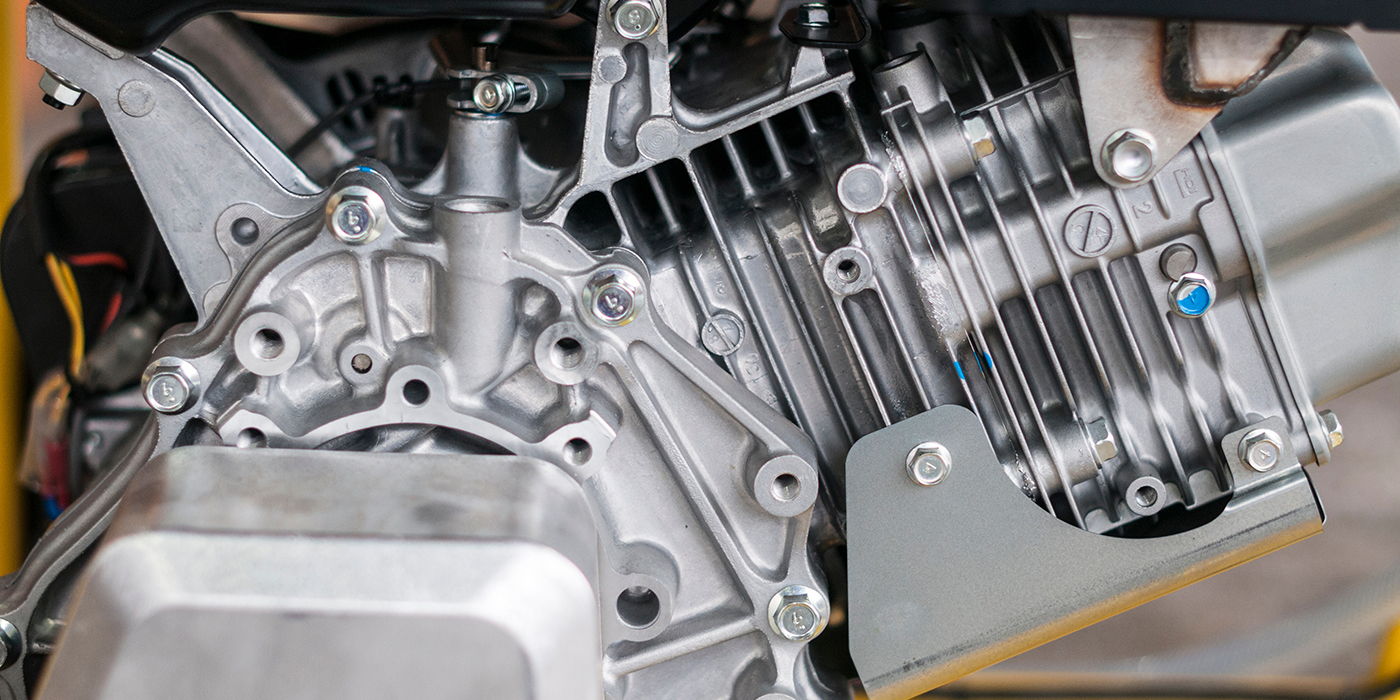
The first step in repacking the muffler is to open it up and remove the old packing material. Where two-strokes usually have bolt on caps, the four-strokes often have rivets or a bolt/rivet combination. Do not fear the rivets. A riveted four-stroke muffler often can be easier to deal with than a gummed up two-stroke.
If the vehicle has a stock muffler, be sure to check with a service manual so see if it is the front or the rear cap rivets that should be removed. For aftermarket pipes, check with the manufacturer. Make notes or take pictures to ease the orientation of the parts during reassembly.
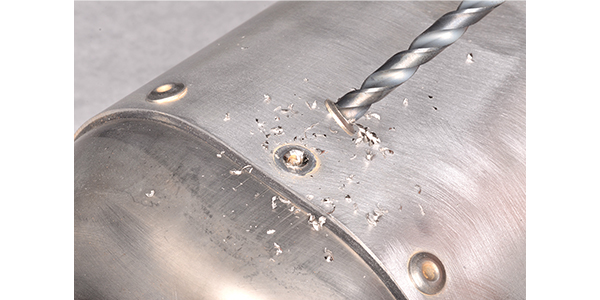
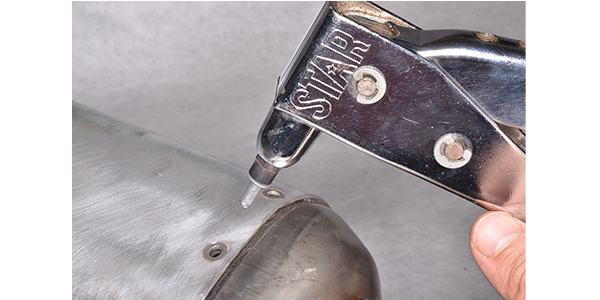
Take care when removing the rivets with a drill bit. The drill bit must only take off the head of the rivet without widening the holes of the muffler body and cap. Push the remaining parts of the rivets through with a punch to free the cap from the muffler body. Separate the cap and canister. Discard the old packing material.
Remove the muffler core if it is a separate piece. Clean the core and/or the spark arrestor with a wire brush to remove excessive carbon build up.
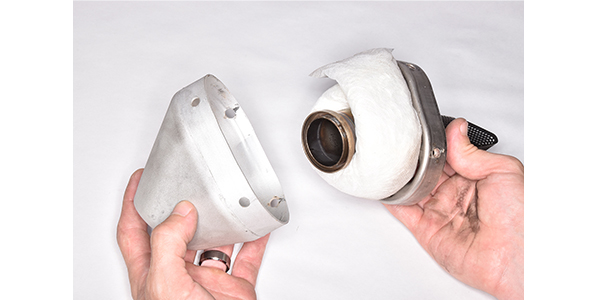
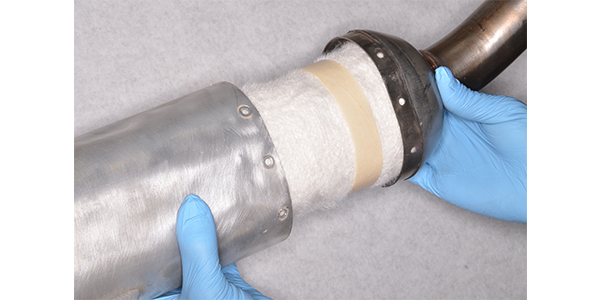
Wrap the new muffler packing around the core evenly. The muffler packing should be snug, but not overly tight. Use two pieces of ½ in. masking tape to secure the packing to the core.
When the muffler cap is joined to the canister, a heat resistant muffler sealant will be needed to prevent exhaust leaks. Apply the muffler sealant to the inside surface where the cap will sit against the body.
Assemble the muffler with the new packing material. Do not allow the packing material to be pushed around and bunch up. Wipe away the excess sealant with a damp shop rag or clean it away as indicated.
Install new rivets to secure the cap to the canister. A quality rivet gun will make your job much easier. If the muffler uses fasteners of another type, install them and tighten them as specified.
Check the condition of the muffler packing every couple of ride days. If you thump the side of a well-packed muffler, you should hear a soft thud. A sharp empty sound indicates the packing is burned up or blown out. Keeping the muffler packing fresh will make the machine perform and sound the way it should from the factory.
Link: Cyclepedia