Transmission shafts might not be something your shop sees every day but at some point, a vehicle will show up with problems related to the transmission. With a few basic principles and organization, they can be straightforward to service. The best place to start is a quality service manual.
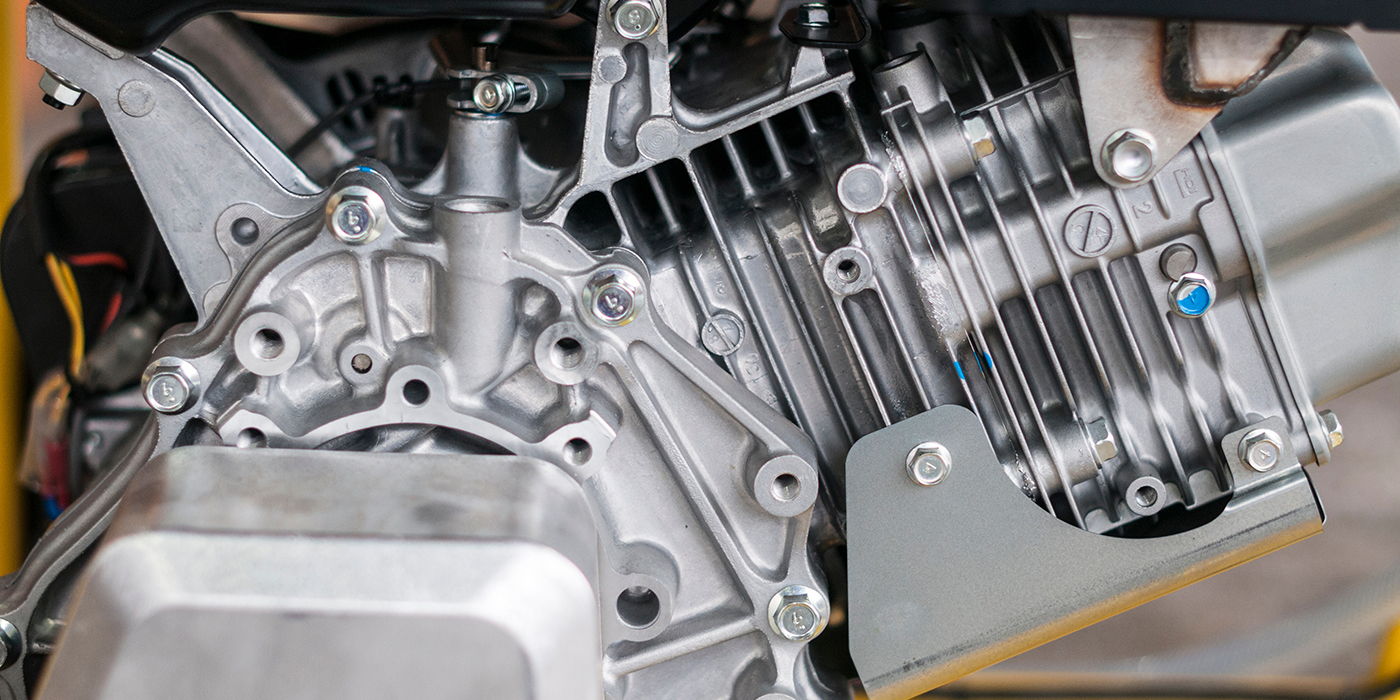
Having the service manual for the model on the lift will not only keep you organized when working on the shafts, but also getting to the shafts, which requires removing many components and usually splitting the crankcases. If you don’t have the right information, you might not be able to remove the shafts, much less be able to put the components back together in the correct order and orientation.
Even with the rise of the CVT system in the off-road world, there will usually be a gear box containing transmission shafts to control forward, reverse and the Hi-Lo gears.
Before getting all set for major component removal, don’t forget to check everything related to shifting before getting to the actual transmission. Always inspect the gear shift linkage. If you are dealing with an ATV or side-by-side, the gear shift linkage is usually adjustable and can cause shifting problems.
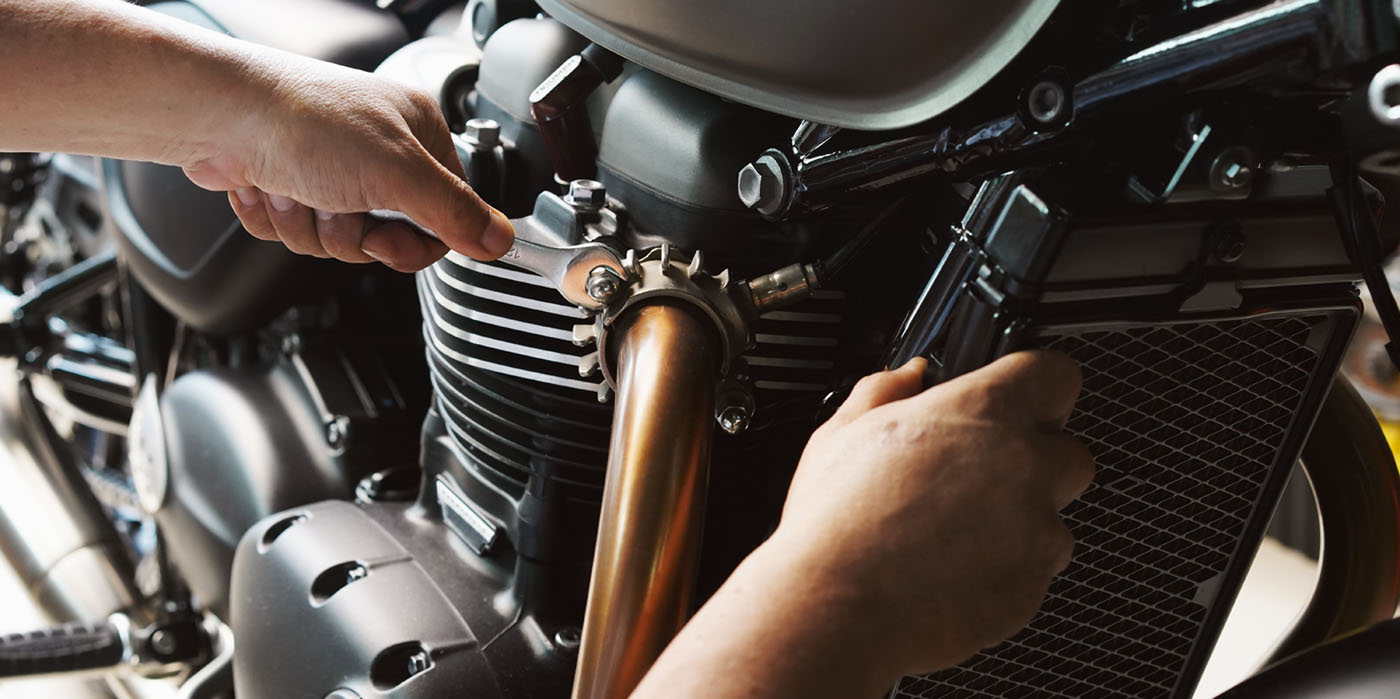
When dealing with more of a motorcycle transmission set up, start at the shifter and check for any possible adjustments. Next, carefully inspect the clutch and internal gear shift linkage for wear and damage.
More than once I’ve headed toward the transmission only to find a damaged part of the linkage causing the problem. In this case, make sure to locate any broken pieces before moving on. Sometimes the engine cases may still need to be split to confirm there is no debris left in the engine.
Be prepared ahead of time to replace the snap rings with new items. Do not waste the time and effort spent on servicing the transmission just to invite a future problem by not replacing such a cheap and critical part.
To remove and install the snap rings, a set of snap ring pliers will be needed. These special pliers will allow you to spread the ring and slide it on or off as needed.
Kawasaki and Harley-Davidson often use a straight ended style snap ring that can be frustrating to get on and off without the proper tools or technique. A set of straight edge snap ring pliers will greatly help with this type of ring. Also, stabilizing the snap ring with needle nose pliers 180 degrees from the opening will help keep the ring from slipping off the snap ring pliers and warping.
When installing the snap rings, be sure that they are fully seated in their grooves. Rotate the ring in the groove to double check that it is fully seated. Also, if the shaft has splines, make sure the ends of the snap ring fit in the splines and are not hanging out in the open.
The snap rings and washers have a sharp side and a chamfered side. Install the washers and snap rings in the correct orientation based on thrust load or as indicated by the service manual. For example, if the thrust load is right-to-left, the sharp side of the snap ring should face to the left.
Some transmission shafts require a gear to be pressed off. Check to see if the manufacturer has a specification for the installed length of the pressed-on gear. If not, measure the installed length before removing the gear so it can be pressed back to that same location.
Lay out the removed components in the order and orientation of removal to aid in reassembly and remember to replace parts that work together as a set.
When it is time to reassemble the transmission shafts, be sure to lubricate all the areas of the shaft where a gear or bushing rides or slides, bearings and the shift fork grooves.
Install any bushings or gears with oil holes so that the holes align. Make sure the gears ride and slide correctly on the shaft before installing them in the crankcase.
Link: Cyclepedia