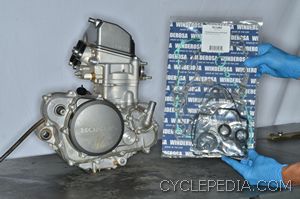
1. Looking through parts diagrams trying to find all the needed seals and gaskets can be frustrating on small jobs. If you are doing an engine overhaul or major service it is even worse. The best course of action is to get a gasket set. Many OEMs and aftermarket companies like Winderosa offer gasket sets with all gaskets, gaskets and seals, top-end only gasket kits, or component specific gasket and seal kits. Ordering the correct gasket set with one part number not only is quicker, but it reduces the chance of ending up with two dust seals in place of the dust seal and oil seal that are needed.
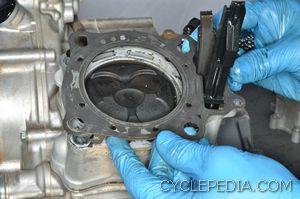
2. Cylinder base gaskets and cylinder head gaskets can be difficult to identify the correct orientation. Some can be installed upside down while visually looking correct. This can result in a poor seal. Follow the service manual’s instructions to identify markings or construction features of the gasket to ensure correct placement.
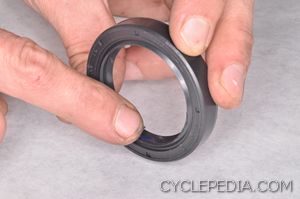
3. When installing oil seals, lubricate the lips of the seal with oil or grease along with the shaft or boss that fits into the oil seal. The oil seal needs a minimal fluid film between its lips and the turning shaft to maintain a good seal and to dissipate heat. An oil seal installed dry may not seal at all, and will most likely fail prematurely. O-rings should be treated in the same manner and not installed dry unless otherwise specified by the service manual.
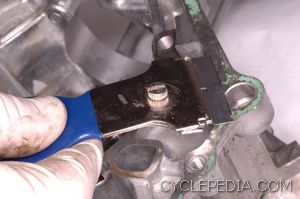
4. Thoroughly clean mating surfaces prior to installing new seals, gaskets, or sealant. Follow the manufacturer’s instructions carefully if a chemical gasket remover product is used as these are some of the nastiest chemicals in the shop. Do not nick or gouge the mating surface when attempting to remove old gasket material. If the mating surface is nicked up or burred it should be smoothed out with an oil stone. If the damage is severe the mating components must be replaced.
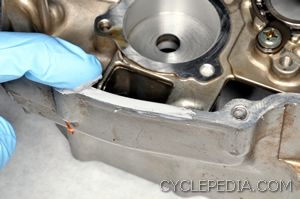
5. When using a liquid gasket sealant, have the correct type for the application as required by OEM. Sealants vary by temperature rating, chemical resistance, drying time and hardening performance. Apply the sealant to the mating surfaces evenly in a thin coat. Do not be excessive as the extra sealant will be pushed out when the components are joined and may enter oil passages or bearings. Also, only apply sealant along with a seal or gaskets when specifically called out by the service manual. Have everything 100 percent ready to go together when the sealant is applied. The mating surfaces must be joined in a timely manner or the sealant will dry prematurely and will not seal correctly.